
How to Prepare Your Roof for El Niño: 7 Steps to Prevent Heavy Water Damage
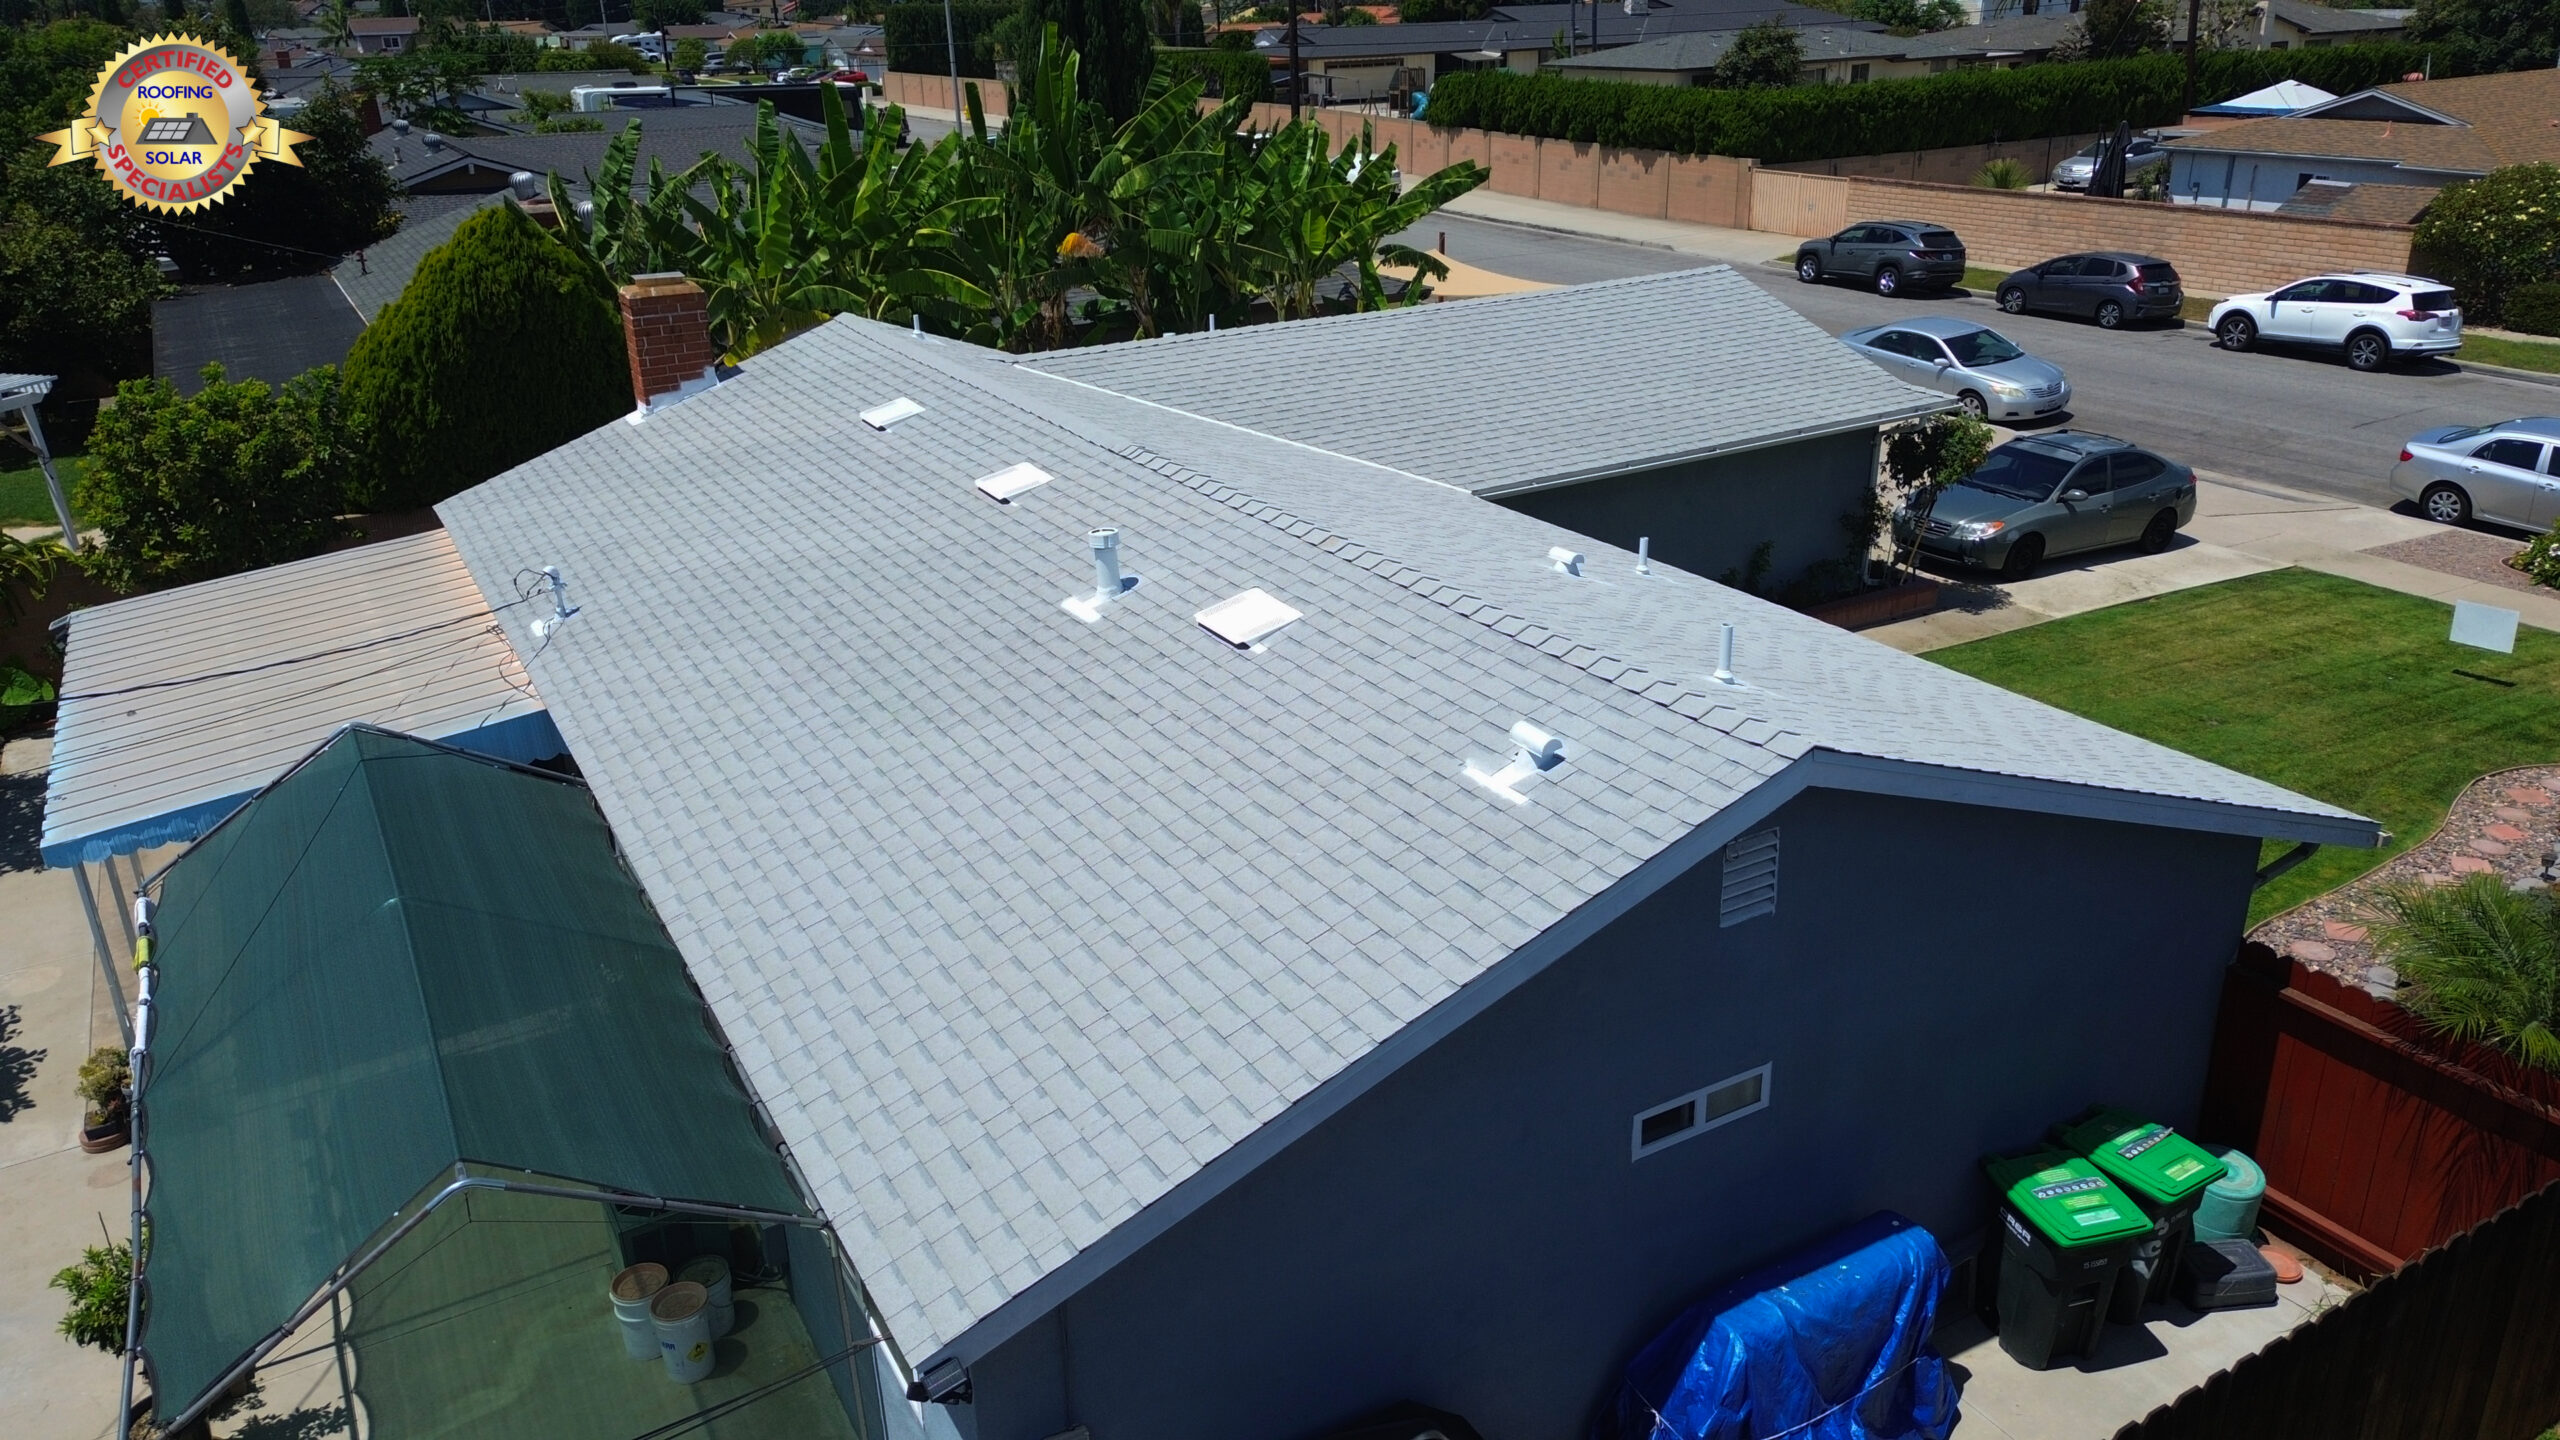
How to Prepare Your Roof for El Niño: 7 Steps to Prevent Heavy Water Damage
El Niño weather patterns bring severe, unpredictable rainfall and high winds that can quickly expose hidden vulnerabilities in your home’s exterior. When atmospheric rivers hit, a small, unnoticed issue can turn into thousands of dollars in structural damage overnight. Knowing how to prepare your roof for El Niño before storm season arrives is the single best way to protect your property and avoid costly emergency repairs.
Follow this comprehensive El Niño roof prep checklist to make sure your home stays leak-free through heavy rain.
Step 1: Clean and Clear Your Gutters and Downspouts
Gutter maintenance is a fundamental part of proper El Niño roof prep. When gutters are clogged with leaves, twigs, and dirt, rainwater has nowhere to go. During heavy downpours, backed-up water overflows onto your roof edge, seeping under shingles or tiles and causing severe wood rot along the fascia and eaves.
Clear Debris: Remove all leaves and organic buildup from gutter channels.
Flush Downspouts: Run a hose through downspouts to ensure water flows freely away from your foundation.
Secure Attachments: Check that gutter brackets are tight enough to support the heavy weight of rushing rainwater.
Step 2: Inspect Roof Flashing Around Key Penetrations
Flashing—the thin metal installed around roof joints—is your main barrier against leaks. As part of your El Niño roof prep, check all roof penetrations where water is most likely to enter.
Check High-Risk Areas: Inspect flashing around chimneys, skylights, plumbing vents, and valleys.
Look for Gaps or Rust: Search for rusted metal, cracked caulk, or lifted edges.
Reseal Immediately: Apply high-grade exterior roofing sealant to minor gaps, or replace corroded flashing before the storms start.
Step 3: Check Tile and Shingle Integrity
High winds can easily lift loose materials or drive rain underneath damaged roofing components. Evaluating surface materials is a critical step when learning how to prepare your roof for El Niño.
For Tile Roofs: Look for cracked, chipped, or slipped tiles. Even minor cracks allow water to reach the underlying waterproofing layer.
For Asphalt Shingle Roofs: Inspect for curling edges, bald spots missing granules, or missing shingles.
Replace Damaged Pieces: Swap out compromised tiles or shingles early to prevent water from penetrating your roof deck.
Step 4: Examine the Underlayment and Attic Space
Your roof surface is only the first layer of defense; the underlayment underneath handles the primary waterproofing. Completing an internal inspection is an essential part of thorough El Niño roof prep.
Look for Stains: Inspect attic rafters, insulation, and plywood for dark water stains or discoloration.
Check for Light Leaks: Turn off attic lights during the day and look up. Daylight peeking through means water will find its way in during a storm.
Detect Musty Odors: Damp or musty smells in the attic indicate slow leaks or trapped moisture.
Step 5: Trim Overhanging Tree Branches
Storms regularly bring strong wind gusts that convert overhanging branches into major hazards.
Prevent Scrapes: Branches touching your roof scrape away shingle granules or crack delicate tiles in high winds.
Eliminate Impact Risks: Trim back heavy branches suspended over your house to prevent them from snapping off during heavy winds.
Maintain Clearance: Keep tree limbs trimmed at least 6 to 10 feet away from your roofline as part of your seasonal El Niño roof prep.
Step 6: Verify Proper Attic and Roof Ventilation
When heavy rains hit, outdoor humidity spikes. Proper ventilation ensures trapped heat and moisture in your attic don’t build up condensation under your roof deck.
Clear Soffit Vents: Ensure intake vents along the eaves aren’t blocked by insulation or debris.
Inspect Ridge Vents: Check that exhaust vents are clear, undamaged, and properly sealed at their bases to block wind-driven rain.
Step 7: Schedule a Professional Pre-Storm Inspection
While DIY checks help catch obvious problems, a professional roof inspection ensures complete protection. Knowing how to prepare your roof for El Niño includes knowing when to call an expert.
Catch Hidden Leaks: Certified roofers evaluate the remaining lifespan of your underlayment and hidden seals.
Safe Repairs: Professionals can safely navigate steep or fragile surfaces like clay and concrete tiles.
Insurance Documentation: A pre-storm inspection report provides official documentation if you need to file an insurance claim later.
Is Your Roof Ready for Storm Season?
Taking time for proper El Niño roof prep is the most effective way to protect your home from severe rainstorms. If you want expert help verifying your roof’s condition before the weather turns, contact a licensed professional to inspect your roof today.
We are here to help

Or call us : 714-668-0757
Info@certifiedroofingspecialists.net
Solar: Solar@certifiedroofingspecialists.net
Our Hours
Mon-Friday: 8-5pm
Saturday: 8-2pm
Sunday: Closed